How to Enable SNMP on VMware ESXi Host & Configure ESXi Firewall to Allow or Block Access to the SNMP Service
In this article we will show you how to enable SNMP on your VMware ESXi host, configure SNMP Community string and configure your ESXi firewall to allow or block access to the SNMP service from specific host(s) or network(s).
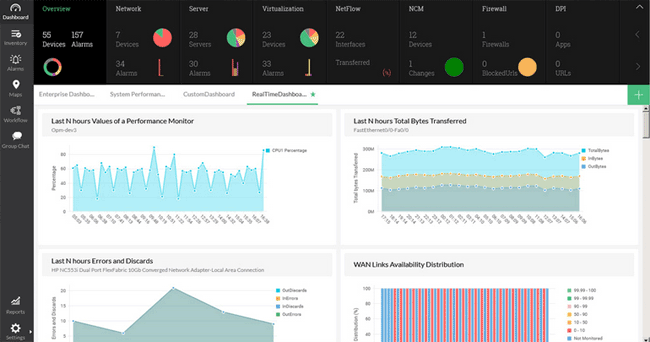
Enabling SNMP service on a VMware ESXi host is considered mandatory in any production environment as it allows a Network Monitoring System (NMS) access and monitor the ESXi host(s) and obtain valuable information such as CPU, RAM and Storage usage, vmnic (network) utilization and much more.
Furthermore, an enterprise grade NMS system can connect to your VMware infrastructure and provide alerting, performance and statistical analysis reports to help better determine sizing requirements but also identify bottlenecks and other problems that might be impacting the virtualization environment.
Execution Time: 10 minutes
Related Articles:
- 6 Key Areas to Consider When Selecting a VM Backup Solution
- Understanding Deduplication. Complete Guide to Deduplication Methods & Their Impact on Storage and VM Backups
- Differences Between VMware vSphere, vCenter, ESXi Free vs ESXi Paid, Workstation Player and Pro
- How to Enable or Disable SSH on VMware ESXi via Web GUI, vSphere Web GUI (vCenter), vSphere Client and Shell Console
Concerned about your VM machines and data? Download now your Free Enterprise-grade VM Backup solution
Enable SSH on ESXi
First step it to enable SSH on ESXi. This can be easily perform via the vSphere client, ESXi console or Web GUI. All these methods are covered in details in our article How to Enable SSH on VMware ESXi.
Enable and Configure ESXi SNMP Service
Once SSH has been enabled, ssh to your ESXi host and use the following commands to enable and configure the SNMP service:
esxcli system snmp set --enable true
Replace “COMMUNITY_STRING” with the SNMP string of your choice.
Enable SNMP on ESXi Firewall
Next step is to add a firewall rule to allow inbound SNMP queries to the ESXi host. There are two scenarios here:
- Allow traffic from everywhere
- Allow traffic from specific hosts or networks
Allow SNMP Traffic from Everywhere
The below rules allow SNMP traffic from everywhere – all hosts and networks:
esxcli network firewall ruleset set --ruleset-id snmp --enabled true
Allow SNMP Traffic from Specific Hosts or Networks
The below rules allow SNMP traffic from host 192.168.5.25 and network 192.168.1.0/24:
esxcli network firewall ruleset allowedip add --ruleset-id snmp --ip-address 192.168.5.25
esxcli network firewall ruleset allowedip add --ruleset-id snmp --ip-address 192.168.1.0/24
esxcli network firewall ruleset set --ruleset-id snmp --enabled true
Block Host or Network from Accessing SNMP Service
To block a previously allowed host or network from accessing the SNMP service simply execute the following command(s):
esxcli network firewall ruleset allowedip remove --ruleset-id snmp --ip-address 192.168.1.0/24
Restart SNMP Service
Now that everything is configured, all we need to do is restart the SNMP service using the following command:
/etc/init.d/snmpd restart
Summary
In this article we explained the importance and usage of the SNMP Service for VMware ESXi Hosts and vCenter. We explained how to enable the SNMP Service on an ESXi host, configure the SNMP community string (public/private) and provided examples on how to configure the ESXi Firewall to control SNMP access to the ESXi host.
Your IP address:
3.142.124.139
Wi-Fi Key Generator
Follow Firewall.cx
Cisco Password Crack
Decrypt Cisco Type-7 Passwords on the fly!


